This is an article about sponges, it shows what kind of cleaning equipment is best for us.
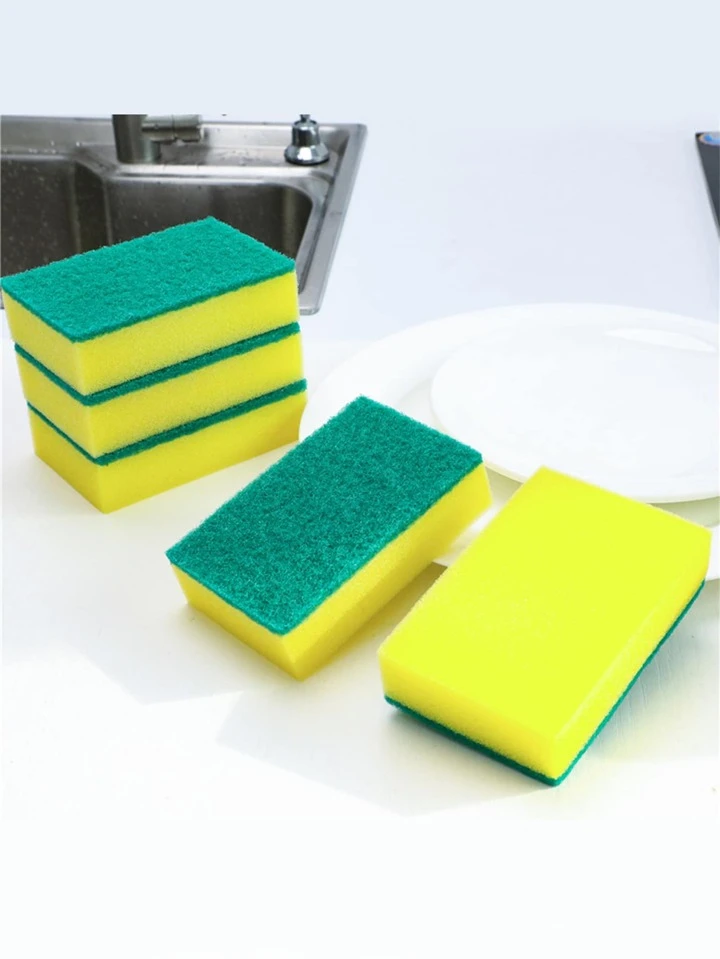
Scouring sponges are a versatile tool for household cleaning tasks commonly found in kitchens and bathrooms. However, using them with care is important, as the abrasive side can scratch or damage delicate surfaces, so they should be used on appropriate materials where scrubbing is necessary.
What material is a scouring sponge?
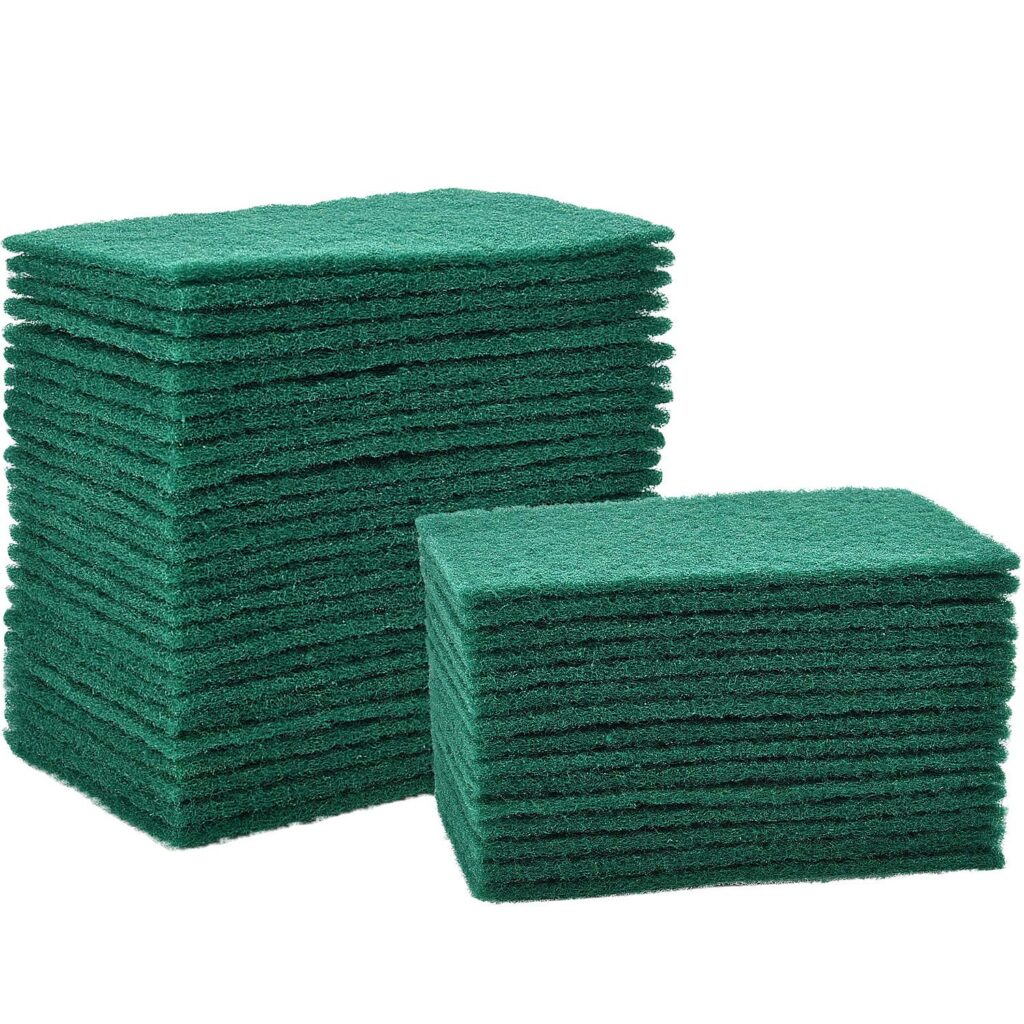
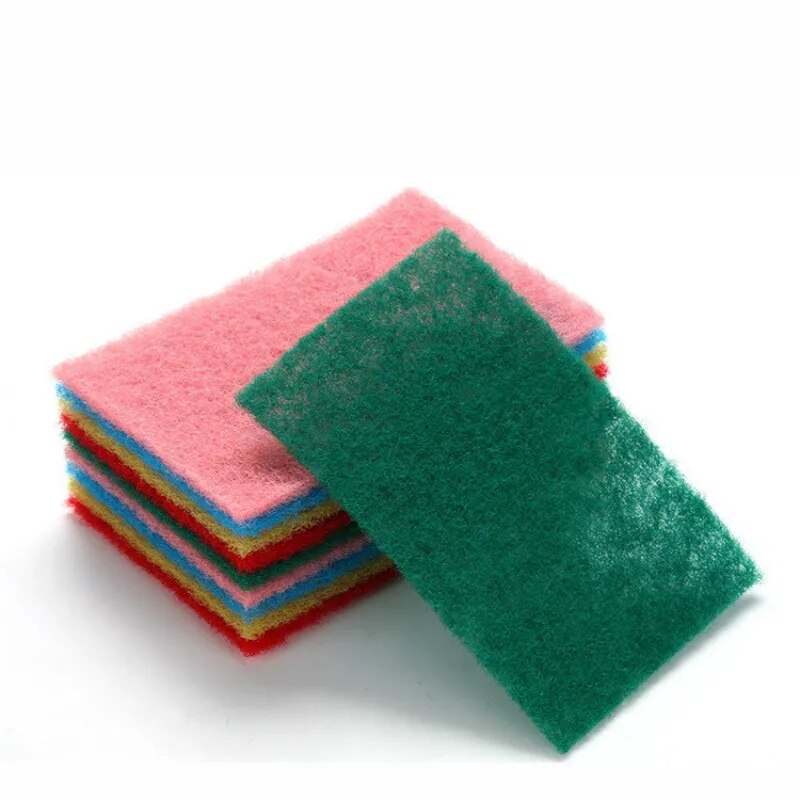
The primary materials used to make scouring sponges are typically synthetic materials. The abrasive side of a scouring sponge is often made from materials like nylon, polyester, or abrasive fibers. These materials are chosen for their ability to effectively scrub away tough stains and dirt without easily wearing them out.
Certainly, let’s delve deeper into the materials commonly used in scouring sponges:
- Abrasive Materials:
- Nylon: Nylon is a popular choice for the abrasive side of scouring sponges. It is durable, tough, and resistant to abrasion itself, making it effective at scrubbing away stains, grease, and grime.
- Polyester: Like nylon, polyester fibers are often used for their abrasive qualities. They are strong and can withstand repeated use without breaking down quickly.
- Abrasive Fibers: Scouring sponges may also contain abrasive fibers such as those made from mineral particles like aluminum oxide or silicon carbide. These fibers enhance the sponge’s scrubbing power.
- Sponge Materials:
- Cellulose: Cellulose sponges are a common choice for the sponge part of scouring sponges. They are made from natural cellulose fibers, which are highly absorbent and can hold liquids effectively.
- Foam: Some scouring sponges use foam as the sponge material. Foam sponges are lightweight and can also be quite absorbent, making them suitable for tasks where water or cleaning solutions are needed.
- Additional Components:
- Cleaning Agents: Some scouring sponges may be impregnated with cleaning agents or chemicals to aid in breaking down and removing stains. These additives can vary but are designed to enhance the sponge’s cleaning performance.
- Coatings: The abrasive side of the sponge may have special coatings to make it more effective at scrubbing while protecting the surface from scratches.
What is a scouring sponge used for?
Cleaning sponges, including scouring sponges, can be used in various places and for a wide range of cleaning tasks in and around the home. Here are some common uses for cleaning sponges:
- Kitchen:
- Dishes and Cookware: Cleaning sponges are often used to scrub dishes, pots, and pans to remove food residues and grease.
- Countertops: They can be used to wipe down and clean kitchen countertops to remove spills and stains.
- Appliances: Sponges can help clean kitchen appliances like stovetops, microwaves, and ovens.
- Sink: Sponges are handy for cleaning sinks and faucets to remove soap scum and water stains.
- Bathroom:
- Shower and Tub: Cleaning sponges can be used to scrub and remove soap scum, mildew, and grime from shower walls, tubs, and tiles.
- Toilet: Some sponges are designed for toilet cleaning tasks to remove stains and deposits.
- Sink and Vanity: Sponges can clean bathroom sinks, faucets, and countertops.
- General Cleaning:
- Household Surfaces: Cleaning sponges can be used to clean various household surfaces, including walls, baseboards, and cabinets.
- Floors: While not as common as mops, sponges can be used for spot-cleaning spills and stains on hard floors.
- Furniture: They can help remove stains and marks from upholstery or furniture surfaces.
- Appliances: Sponges are useful for wiping down and cleaning the exterior of appliances like refrigerators and dishwashers.
- Outdoors:
- Garden Tools: Sponges can be used to clean and maintain gardening tools such as shovels and shears.
- Outdoor Furniture: They can help clean patio furniture, including tables and chairs.
- Grills: Sponges can assist in cleaning grills, and removing food residues and grease.
- Automobiles:
- Car Interior: Sponges can be used for cleaning car interiors, including dashboard surfaces, seats, and floor mats.
- Exterior: They can be used to remove dirt and grime from a vehicle’s exterior, but use caution to avoid scratching the paint.

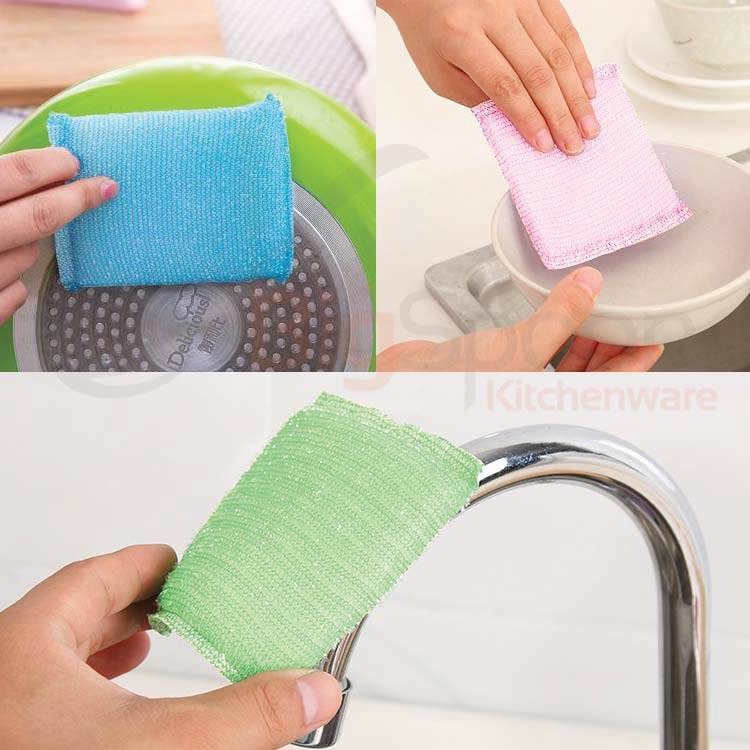
What are the two types of scrubbers?
There are two kinds of cleaning sponges that we commonly use
Precautions for using a cleaning sponge
- Rinse Immediately: After using the sponge, rinse it thoroughly under running water to remove any lingering debris, soap, or cleaning solution. This helps prevent the buildup of dirt and residues on the sponge.
- Squeeze Out Excess Water: Squeeze the sponge firmly to remove as much water as possible. A dry sponge is less likely to harbor bacteria and mold. Ensure it’s completely wrung out.
- Store Properly: Allow the sponge to air dry completely before storing it. Do not leave it in an enclosed, damp, or dark area, as this can promote the growth of bacteria and mold. Store it in a well-ventilated place.
- Replace When Necessary: Cleaning sponges have a limited lifespan. Replace your sponge regularly, especially if it shows signs of wear and tear, fraying, or if it develops an unpleasant odor. Overused sponges can become less effective and may not be cleaned properly.
- Disinfect (Optional): Periodically, you can disinfect the sponge to kill bacteria. You can do this by microwaving a damp sponge for 1-2 minutes or by soaking it in a mixture of water and white vinegar (1 part vinegar to 1 part water) for a few minutes.
- Avoid Cross-Contamination: Be mindful of cross-contamination. Use separate sponges for different cleaning tasks, such as one for dishes, one for bathroom cleaning, and another for general household cleaning. This reduces the risk of transferring harmful bacteria from one area to another.
- Monitor Odors: If your sponge develops an unpleasant or musty odor that doesn’t go away after cleaning, it may be time to replace it. Lingering odors can indicate bacterial growth.
- Use the Right Sponge: Choose the appropriate type of sponge for the cleaning task. Non-scratch sponges should be used on delicate surfaces to prevent scratching, while abrasive sponges are better for tough stains and residues.
- Follow Product Instructions: If you use a specialized cleaning product with your sponge, follow the manufacturer’s instructions for both the product and the sponge to ensure safe and effective cleaning.
- Hygiene: Wash your hands thoroughly after handling used sponges, as they can harbor bacteria. Avoid using a sponge that appears excessively dirty or damaged.
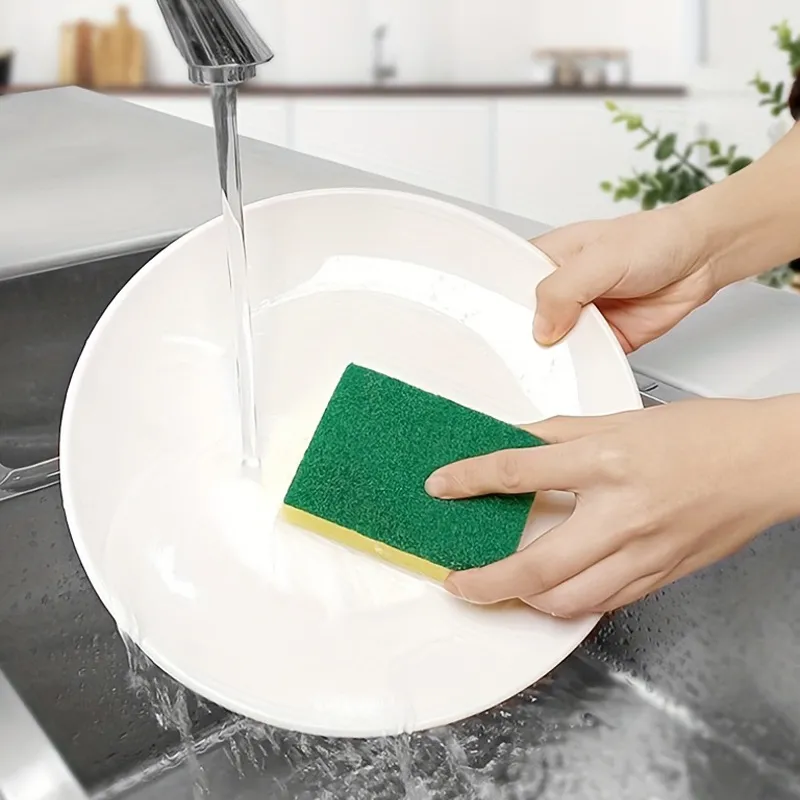
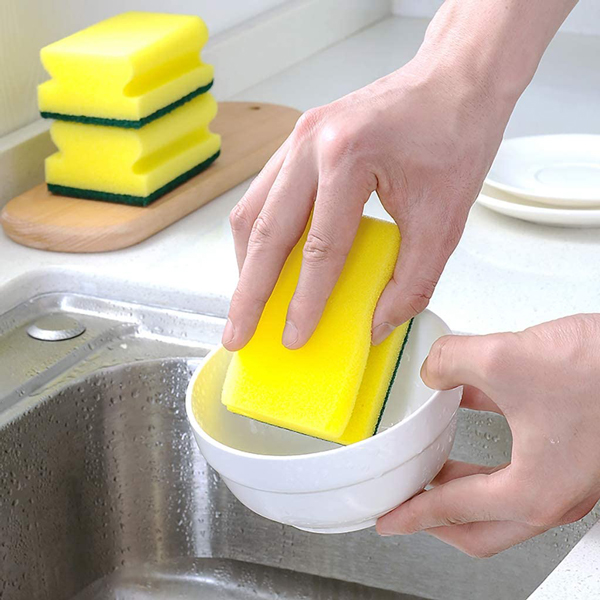
How do you clean the sponge scouring pad?
Cleaning and maintaining your sponge after use is essential to ensure its longevity and prevent the buildup of dirt and bacteria. Here’s how to clean a sponge properly:
- Rinse Thoroughly: After using the sponge, rinse it thoroughly under running water. Hold the sponge under the tap and squeeze it to remove any trapped debris, soap, or cleaning solution.
- Squeeze Out Excess Water: Squeeze the sponge to remove as much water as possible. This helps prevent the sponge from staying damp, which can promote the growth of bacteria and mold.
- Soap and Warm Water: Fill a bowl or basin with warm water and add a few drops of dishwashing liquid or a mild detergent. Submerge the sponge in this soapy water solution.
- Clean and Disinfect: Use your fingers to work the soapy water through the sponge, gently squeezing and rubbing it. Pay extra attention to the areas where you scrubbed surfaces with stubborn stains or residues. This step helps to clean and disinfect the sponge.
- Rinse Again: Rinse the sponge thoroughly under running water to remove any soap or detergent residue. Continue squeezing and rinsing until the water runs clear, and there are no suds left.
- Sanitize (Optional): To further disinfect the sponge, you can microwave it. Place a wet sponge in the microwave and heat it on high for 1-2 minutes. Be cautious when removing it from the microwave, as it will be hot. Alternatively, you can soak the sponge in a mixture of water and white vinegar (1 part vinegar to 1 part water) for a few minutes.
- Air Dry: Allow the sponge to air dry completely. Ensure it is in a well-ventilated area where it can dry thoroughly. Do not store a damp sponge in an enclosed space, as this can lead to mold growth.
- Replace When Needed: Even with proper cleaning and maintenance, sponges have a limited lifespan. Replace your sponge regularly, especially if it starts to show signs of wear, fraying, or a lingering unpleasant odor.